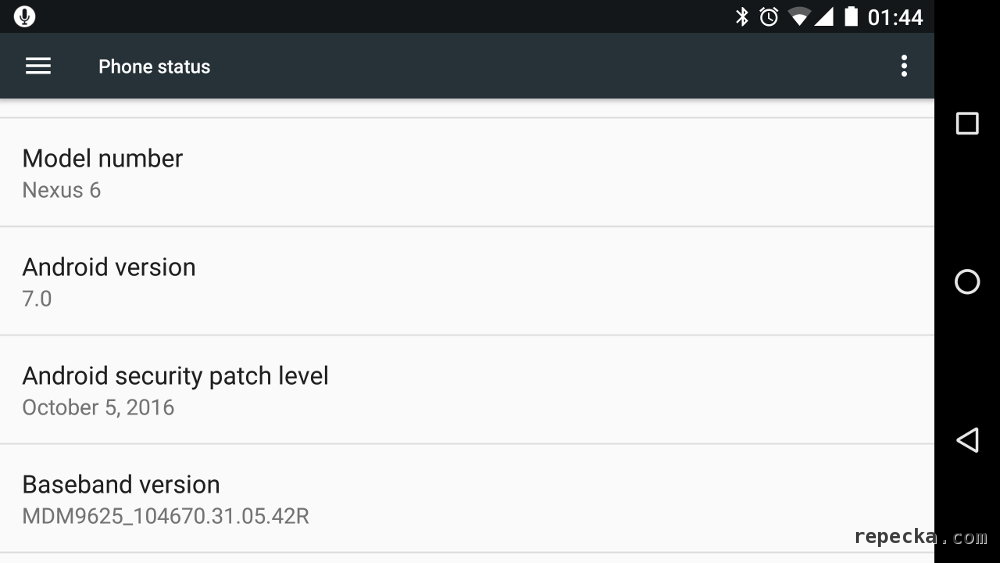
Android 7.0.0 codenamed Nougat is the latest edition of the world’s most popular mobile operating system. Released in August 22, 2016 for Google’s Nexus devices it has been already discussed a lot about it’s native multiwindow support, improved 3D graphics and even smarter battery optimizations. If you own a Nexus device, you probably received OTA update already. However, if nice Nexus device is rooted, those updates cannot install automatically because recovery partition is overwritten with something as fancy as TWRP. Here is my tutorial how to upgrade Nexus 6 (shamu) to latest version. Actually it is universal walkthrough for both 6.0.* (Marshmallow) and 7.0.0 (Nougat). Let’s start!
First make sure you install ADB and download Android image for Shamu: shamu-nbd90z-factory-92e7bb05.zip which is Android 7.0.0 (Nougat) also tagged as NBD90Z. When writing this walkthrough I was upgrading my Nexus 6 from MOB31E which is last Marshmallow version (6.0.1) before October 2016.
This guide is intended for use on Motorola Nexus 6 (shamu) device which has TWRP installed and rooted with SuperSU. It should work on most Nexus devices just make sure to use appropriate images, but the whole procedure is similar. Before you begin read rooting guide to make sure you’ve got TWRP and have SuperSU 2.76 on USB OTG drive.
Ensure USB debugging is enabled in the phone by checking Settings > Developer options > USB debugging.
Now power off device and restart to bootloader by holding POWER + DOWN. Select RECOVERY MODE and wait for TWRP to load.
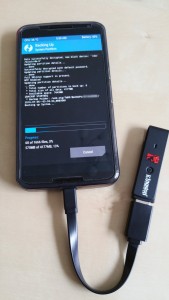
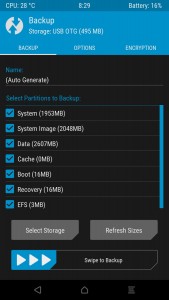
In TWRP tap Backup and at “Select Partitions to Backup” check at least Data partition. In Select Storage make sure USB OTG is selected.
Swipe arrows >>> at “Swipe to Backup“. Now wait a few minutes to complete. When finished reboot to system and plug phone to computer.
First, check if computer recognizes Nexus device by running in Terminal:
adb devices
Should see something like this:
* daemon not running. starting it now on port 5037 *
* daemon started successfully *
List of devices attached
XXNXNNXNXX	device
If you see “unauthorized”:
List of devices attached
XXNXNNXNXX	unauthorized
Then accept dialog on the phone:
Allow USB debugging?
The computer's RSA key fingerprint is XX:XX...
[ ] Always allow from this computer
adb reboot bootloader
Phone reboots and opens:
AP Fastboot Flash Mode (Secure)
Start with flashing bootloader:
fastboot flash bootloader bootloader-shamu-moto-apq8084-71.21.img
Output:
target reported max download size of 536870912 bytes
sending 'bootloader' (4071 KB)...
OKAY [  0.130s]
writing 'bootloader'...
(bootloader) flashing partition ...
(bootloader) This may take a few seconds if a
(bootloader) different partition table is being
(bootloader) flashed since we need to backup
(bootloader) and restore a few partitions
(bootloader) Flashing primary GPT image...
(bootloader) Flashing backup GPT image...
(bootloader) flashing aboot ...
(bootloader) flashing sbl1 ...
(bootloader) flashing rpm ...
(bootloader) flashing tz ...
(bootloader) flashing sdi ...
(bootloader) flashing logo ...
OKAY [  0.468s]
finished. total time: 0.598s
Now reboot:
fastboot reboot-bootloader
Output:
rebooting into bootloader...
OKAY [  0.001s]
finished. total time: 0.001s
Continue with radio:
fastboot flash radio radio-shamu-d4.01-9625-05.42+fsg-9625-02.113.img
Output:
target reported max download size of 536870912 bytes
sending 'radio' (115507 KB)...
OKAY [  3.617s]
writing 'radio'...
(bootloader) flashing modem ...
(bootloader) flashing mdm1m9kefs1 ...
(bootloader) flashing mdm1m9kefs2 ...
(bootloader) flashing mdm1m9kefs3 ...
(bootloader) flashing versions ...
OKAY [  1.564s]
finished. total time: 5.181s
Then with system:
fastboot flash system system.img
Output:
target reported max download size of 536870912 bytes
sending sparse 'system' (508909 KB)...
OKAY [ 15.997s]
writing 'system'...
OKAY [  6.965s]
sending sparse 'system' (524036 KB)...
OKAY [ 16.474s]
writing 'system'...
OKAY [  7.169s]
sending sparse 'system' (443892 KB)...
OKAY [ 13.950s]
writing 'system'...
OKAY [  5.989s]
finished. total time: 66.544s
Boot partition:
fastboot flash boot boot.img
Output:
target reported max download size of 536870912 bytes
sending 'boot' (8535 KB)...
OKAY [  0.268s]
writing 'boot'...
OKAY [  0.119s]
finished. total time: 0.388s
And finally with cache:
fastboot flash cache cache.img
Output:
target reported max download size of 536870912 bytes
erasing 'cache'...
OKAY [  0.023s]
sending 'cache' (6248 KB)...
OKAY [  0.198s]
writing 'cache'...
OKAY [  0.114s]
finished. total time: 0.335s
And reboot:
fastboot reboot
Be patient and wait, following dialog should appear:
Android is upgrading…
Optimizing app 16 of 97.
When Android loads, we need to reinstall TWRP. Reboot by running command:
adb reboot bootloader
Because upgrading Android overwrites recovery partition, you must reflash TWRP. On computer cd into folder that has TWRP image and flash it using:
fastboot flash recovery twrp-3.0.2-0-shamu.img
Output:
target reported max download size of 536870912 bytes
sending 'recovery' (11585 KB)...
OKAY [  0.365s]
writing 'recovery'...
OKAY [  0.178s]
finished. total time: 0.543s
Unplug USB, plug USB OTG with flash that has SuperSU zip and then hit Down until POWER OFF. Hold Power + Volume down to start device and Volume down to RECOVERY MODE. TWRP loads. Install SuperSU using TWRP´s Install function as described in rooting guide.
Reboot and enoy – fresh Android Nougat installed, rooted and ready to entertain you :)


Leave A Comment